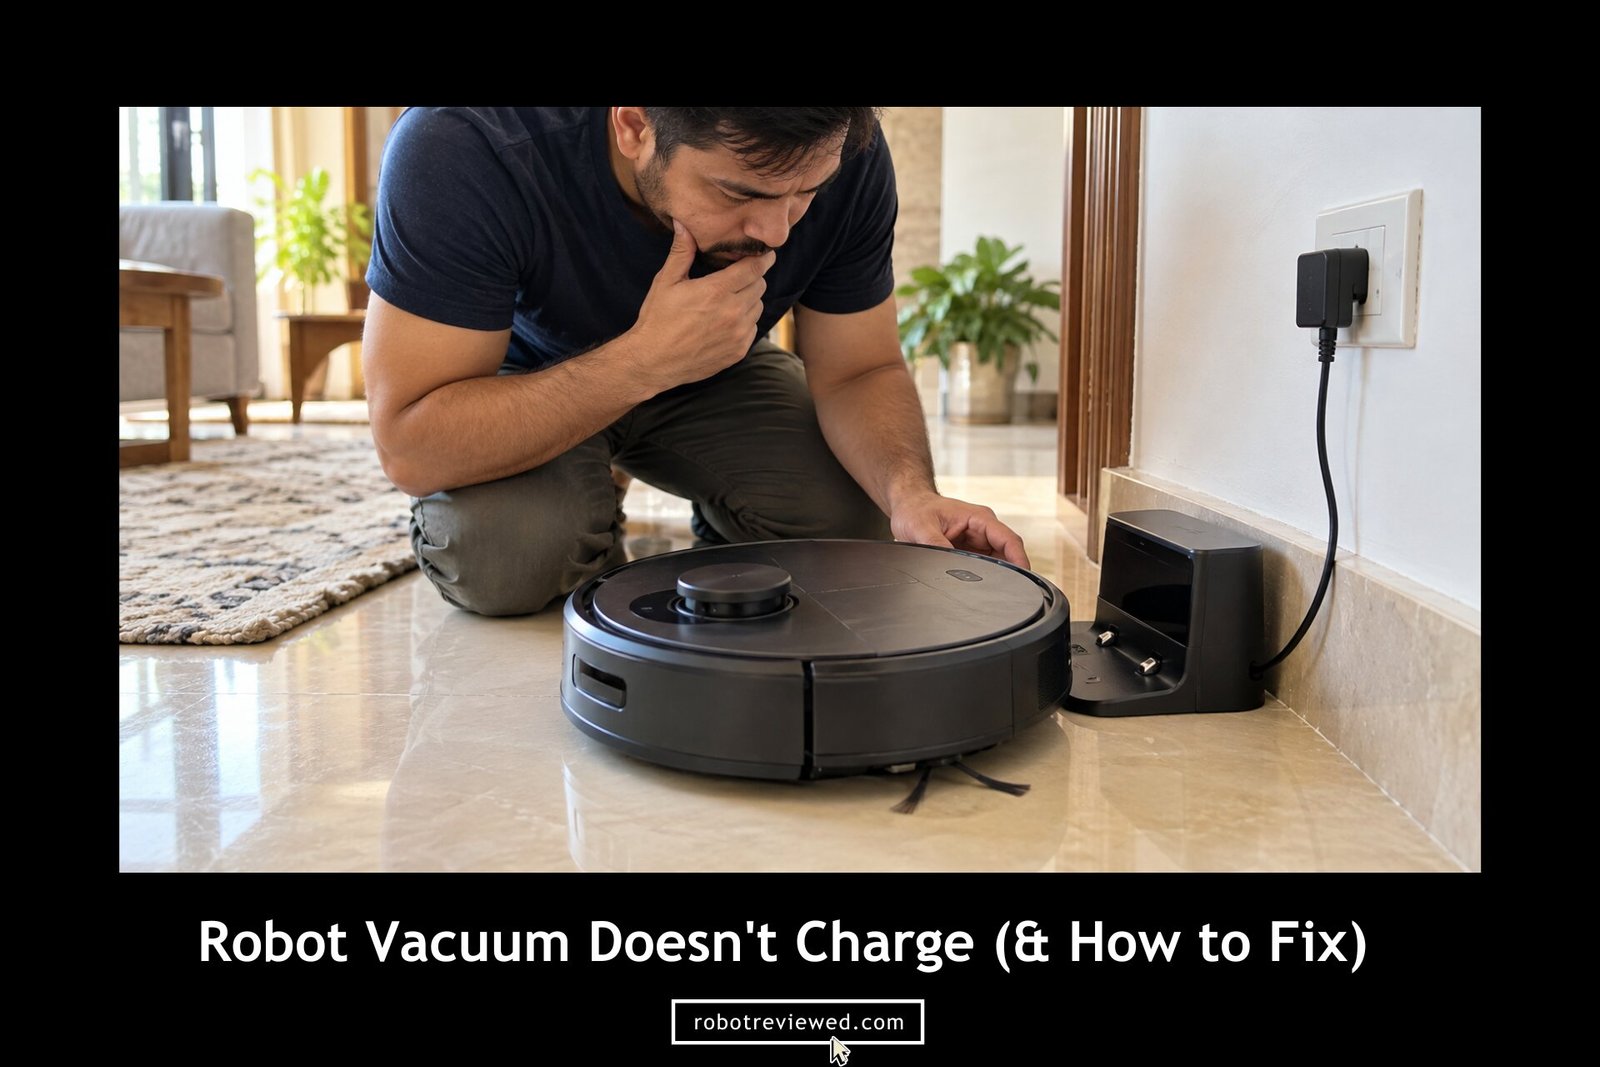
A robot vacuum not charging does not automatically mean the battery is dead. That is the first thing you should hold onto, because a lot of people skip the easy checks and order a pack they never needed. The usual trouble may be in the charging dock, the wall outlet, the charging contacts, the way the robot sits on the dock, the room temperature, or a charging error in the app.
So, work through the checks below in order, and do not buy a replacement battery until you have ruled out dock power and the metal charging pads. Most of the time, the vacuum is sitting on the charger and still getting little or no current.
TABLE OF CONTENTS Quickly jump to a section
- Quick Diagnosis: What Is Your Robot Vacuum Doing?
- How to Fix a Robot Vacuum That Isn’t Charging: Troubleshooting
- 1. Make Sure the Charging Dock Is Getting Power
- 2. Manually Place the Robot on the Dock
- 3. Clean the Charging Contacts on the Robot and Dock
- 4. Check Whether the Robot Is Sitting Correctly on the Dock
- 5. Fix the Charging Dock Placement
- 6. Let the Robot Battery Cool Down or Warm Up
- 7. Restart the Robot and Power-Cycle the Dock
- 8. Check the App or Robot for a Charging Error
- 9. Check or Reseat the Battery – Only If Your Model Allows It
- 10. Decide Whether the Battery Has Actually Failed
- How to Tell Whether the Battery, Dock, or Robot Is Faulty
- When You Should Stop Troubleshooting and Get It Repaired
- How to Prevent Robot Vacuum Charging Problems
Quick Diagnosis: What Is Your Robot Vacuum Doing?
Your best robot vacuums behavior helps you choose the first check, but it cannot prove which part has failed. Okay, match what you see with the table, then start with that step.
| What you see | Check first | Start here |
|---|---|---|
| Dock seems to have no power | Outlet, cable, normal dock light behavior | Step 1 |
| Robot reaches the dock but never confirms charging | Metal contacts and how the robot sits | Steps 2–4 |
| Charging starts only after you move the robot | Contact surfaces and dock alignment | Steps 3–4 |
| Robot keeps docking, leaving, and docking again | Contact connection, dock movement, charging warning | Steps 3–4 and 8 |
| Robot cannot find or reach the dock | Clear path and dock location | Step 5 |
| Charging stops after a long clean or cold storage | Battery temperature | Step 6 |
| App says charging, but the level stays unchanged | Contacts, temperature, charging schedule, app status | Steps 3 and 6–8 |
| Robot charges fully but shuts down very quickly | Battery health and cleaning load | Step 10 |
| Robot is completely dead | Dock power, manual docking, clean contacts | Steps 1–3 |
How to Fix a Robot Vacuum That Isn’t Charging: Troubleshooting
The ten fixes below are in the order most owners should try them. The early ones take about a minute each and cost nothing. Later ones need more patience, and the last one is about the battery itself.
1. Make Sure the Charging Dock Is Getting Power
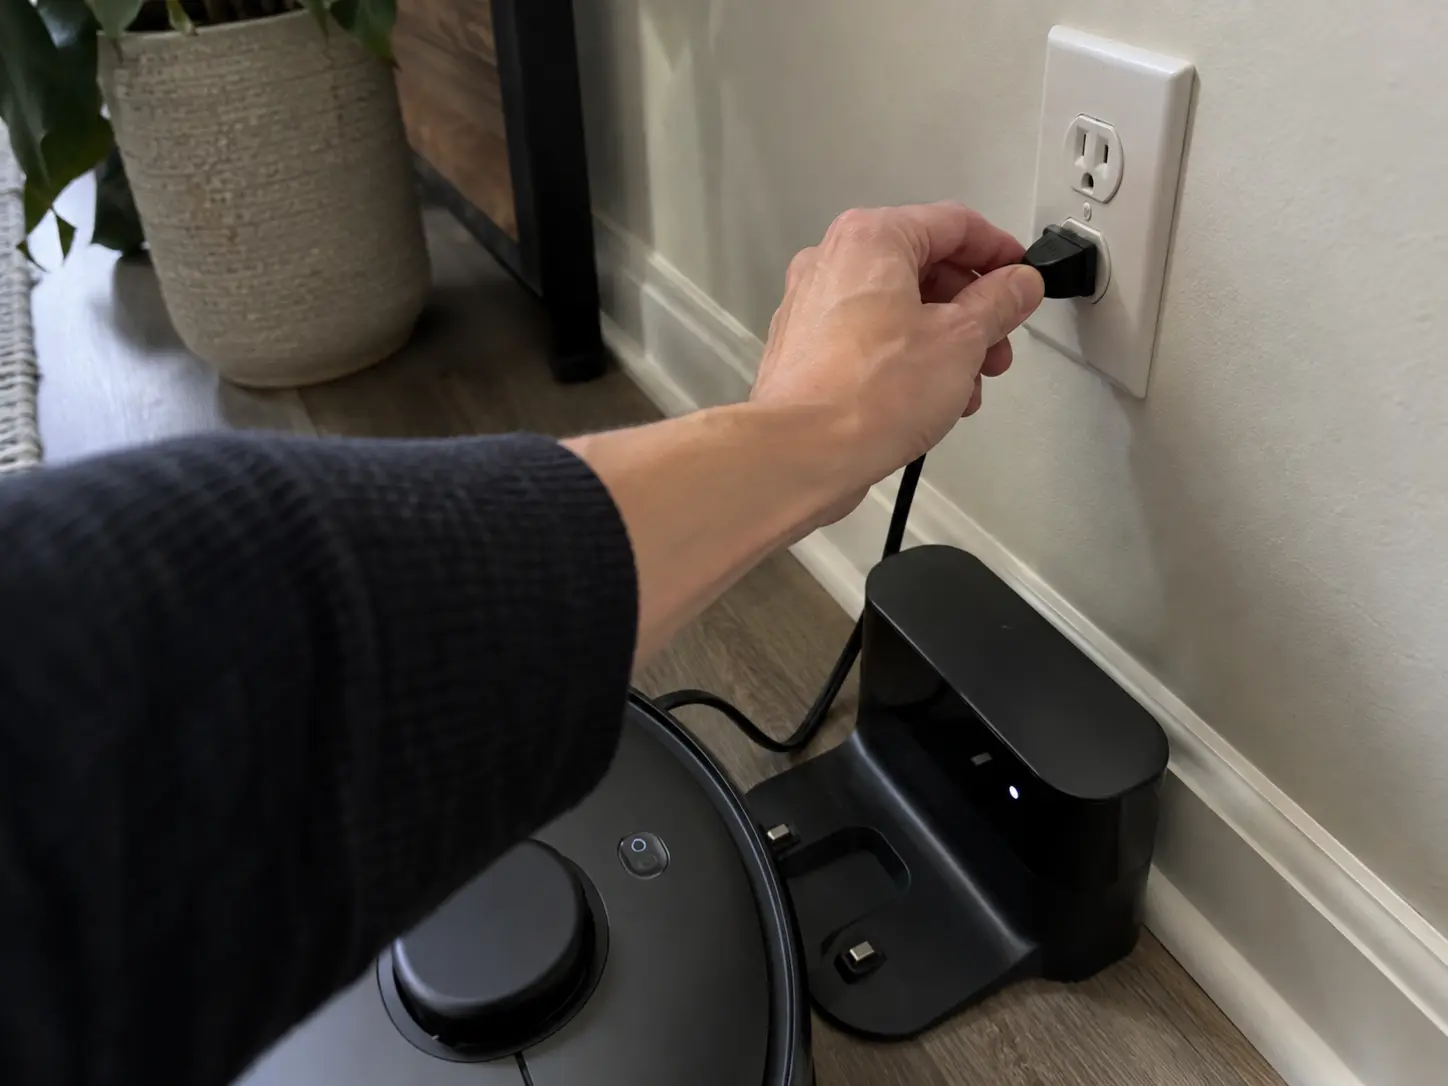
Your charging dock needs a working outlet and a firmly fitted power cable. The robot has no chance to charge if its dock has no power.
Do this:
- Plug a lamp or phone charger into the same wall outlet, and if that device stays dead, the outlet is off or tripped.
- Unplug the dock cable at both ends, then push each end back in until it seats firmly. Actually, loose dock cables are more common than people expect.
- You must look for a dock power switch. Some Ecovacs U.S. stations have a switch on the back that must sit on “ON“.
- Check the dock’s normal power or status light, as on many Roborock docks, the light stays on with no robot and turns off once the robot is charging.
- You can even try a different wall outlet on another circuit. A GFCI or switched outlet can cut power without looking broken.
- Inspect the cable and adapter for kinks, chew marks, melted plastic, or a loose barrel plug.
Now, if the dock light never comes on, you must stop troubleshooting the robot vacuum cleaner. You are dealing with the outlet, the cable, the adapter, or the dock itself. A healthy battery cannot charge from a dead base.
2. Manually Place the Robot on the Dock
This step splits your problem into two quite different types, and it only takes a minute. Either your robot won’t charge at all, or it simply can’t find and reach the dock by itself. Many guides mix these two up, yet the fixes for each one are very different.
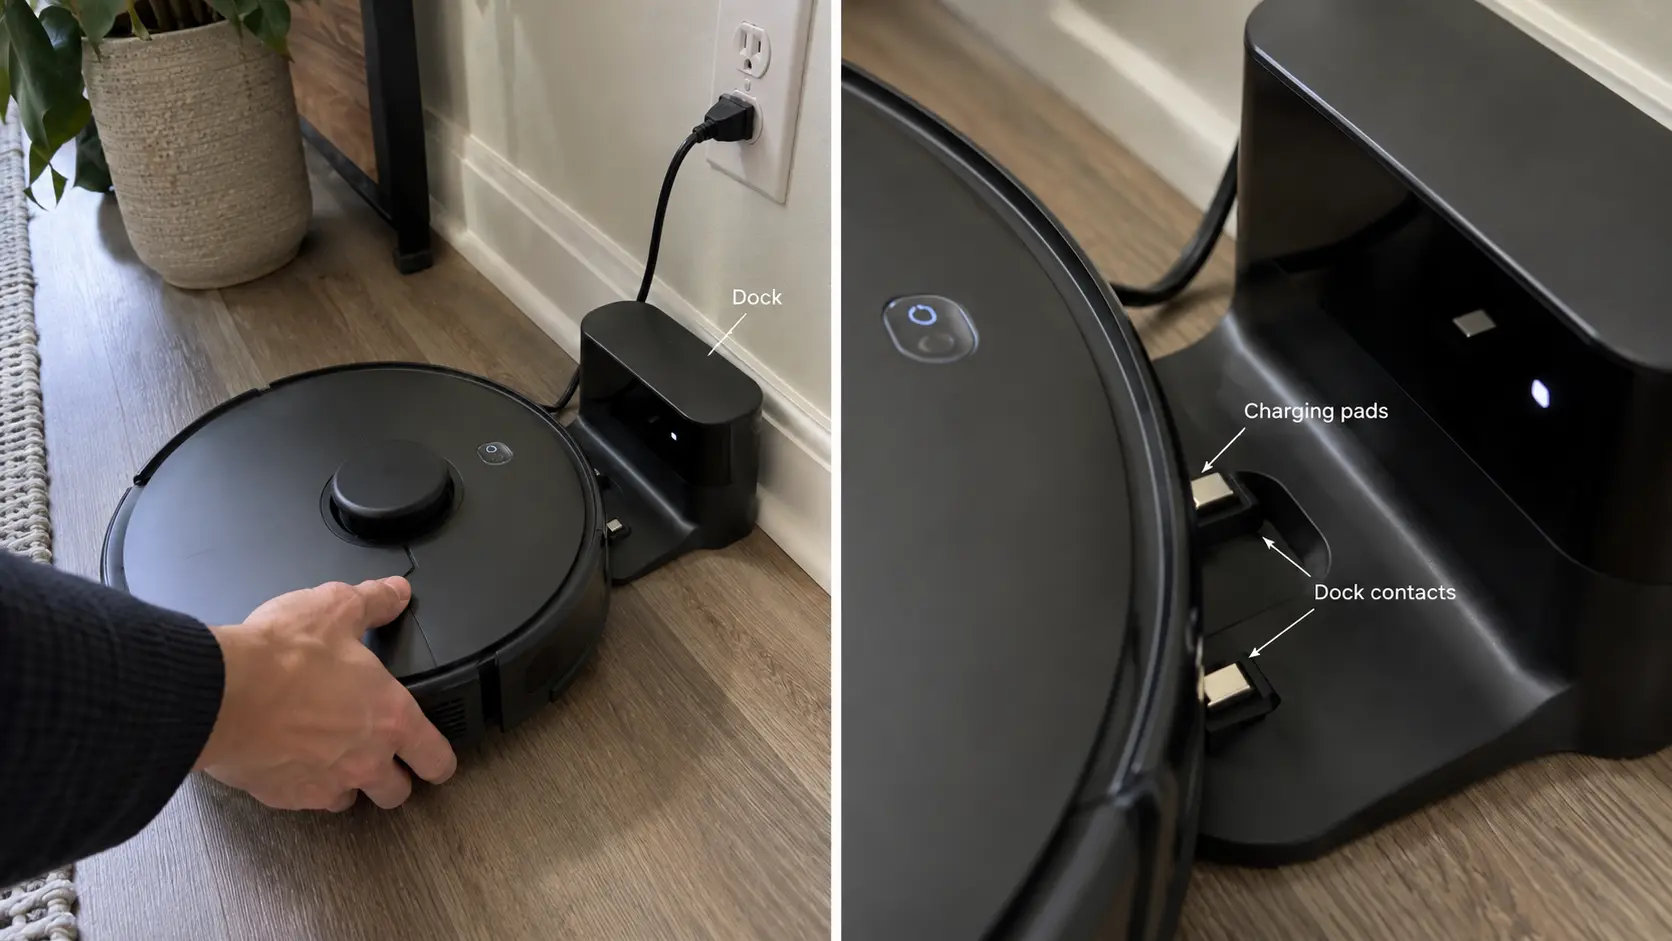
You must pick the robot up and set it on the dock with your own hands. Make sure the metal pads on its underside meet the metal contacts on the dock. Then look and listen for a sign that charging has started, such as a chime, a pulsing light, or a charging icon in the app.
Give it a minute or two before you decide anything, because some robot vacuums take a little while to show a charging signal, especially after sitting fully drained. What happens next tells you which group of fixes to focus on.
- It starts charging when you place it by hand: The charging system works, so your trouble is probably docking position, navigation, or alignment.
- It still won’t charge by hand: That points toward power, contacts, temperature, or the battery, so keep working through fixes 3, 6, 7, and onward.
3. Clean the Charging Contacts on the Robot and Dock
Okay, if you only have time for one careful check, make it this one. Dirty charging contacts are a first-line fix in many manufacturer guides, including iRobot’s, and they cause plenty of ‘on the dock but not charging’ cases.
Dust, hair, and a thin film of grime slowly build up on those metal pads over months of use. You often can’t see it, yet even a light layer can block the current.
- Unplug the dock from the wall, and switch the robot off if your model has a power button.
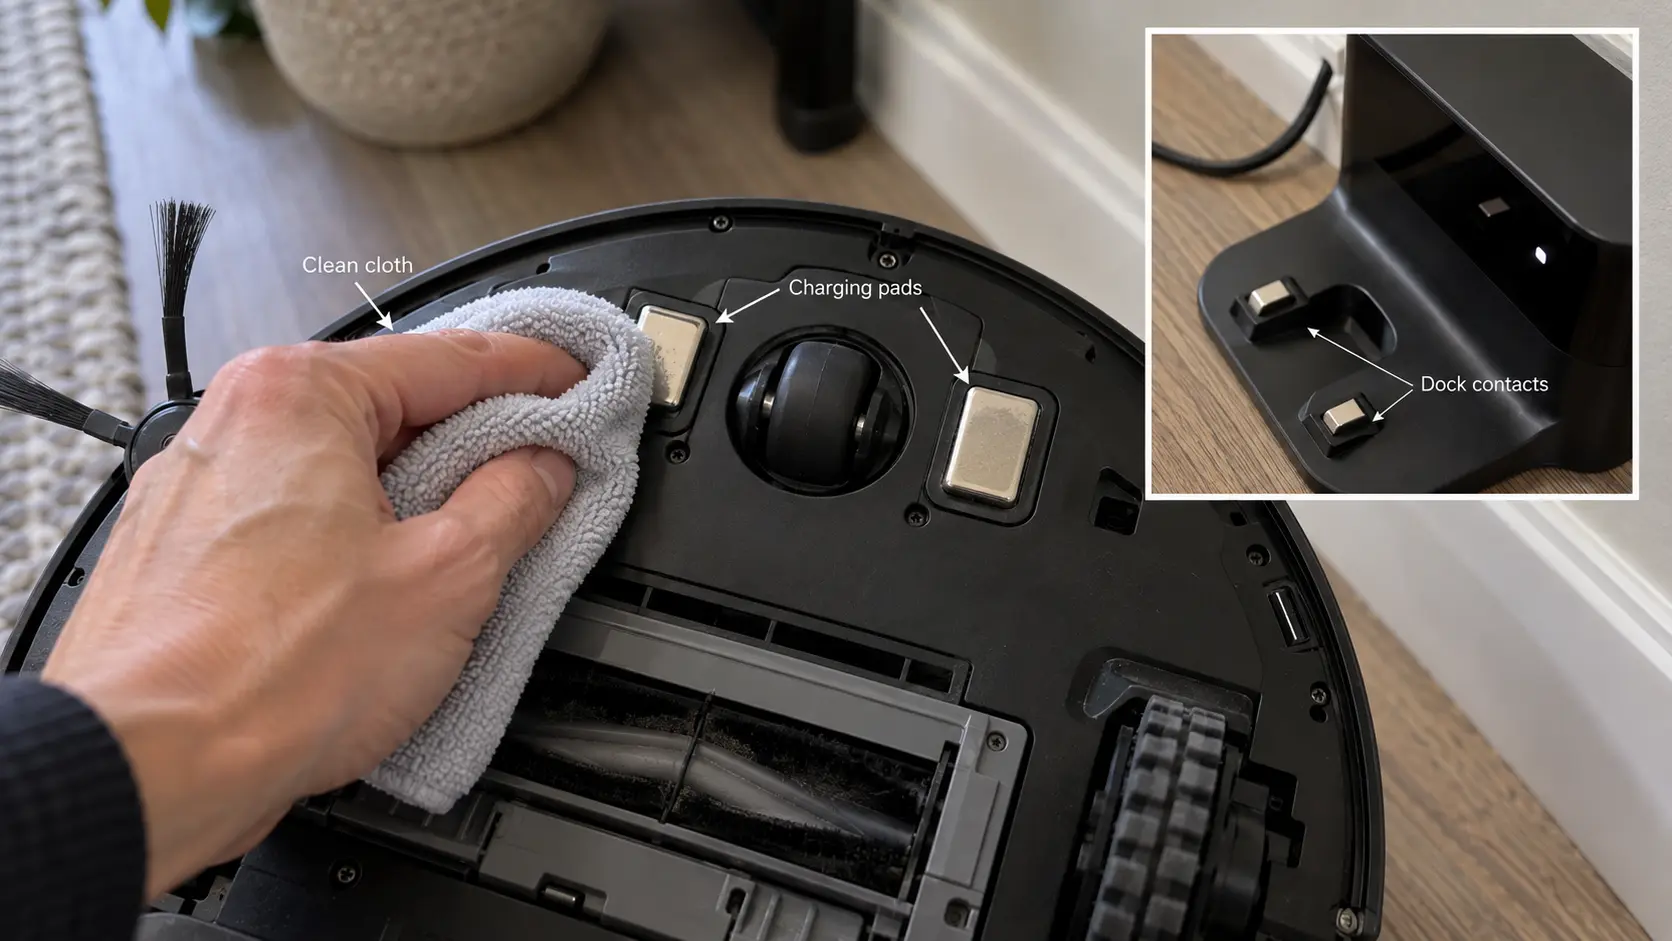
- Find the metal charging pads on the underside of the robot and the matching metal strips on the dock.
- Wipe each pad and strip gently with a clean cloth, using the cleaning method your manual recommends.
- Let everything dry completely before you plug the dock back in or put the robot on it.
Check your manual before you reach for any cleaner or scrubbing pad, because brands give different advice. Some brands say a dry cloth is enough, while others allow a lightly damp one, and harsh products can wear off the metal coating.
While you’re down there, look closely for these warning signs:
- Pads that look badly worn, bent, loose, or scorched compared with the matching pads on the other side.
- Dull or dark patches on the metal, which often mean built-up dirt or a little oxidation.
- Spring-loaded contacts that feel stuck and don’t pop back up after you press them lightly.
You can run a handy ten-second test right on the dock, and it tells you a lot. So, if the robot vacuum cleaner starts charging when you push or wiggle it a little on the dock, poor contact or alignment is far more likely than a dead battery.
4. Check Whether the Robot Is Sitting Correctly on the Dock
You know, clean contacts only help if the pads actually touch the dock. This fix is about the physical fit, so it’s separate from the cleaning you just finished.
You can put the robot on the dock and look at it from the side, then from above. A small gap or a slight tilt can be enough to break the connection. Look for any of the following problems while you’re at it.
- The dock isn’t sitting flat on a level floor, and it rocks or tilts when you touch it.
- The robot sits at an angle, or only halfway up the ramp, instead of straight and snug.
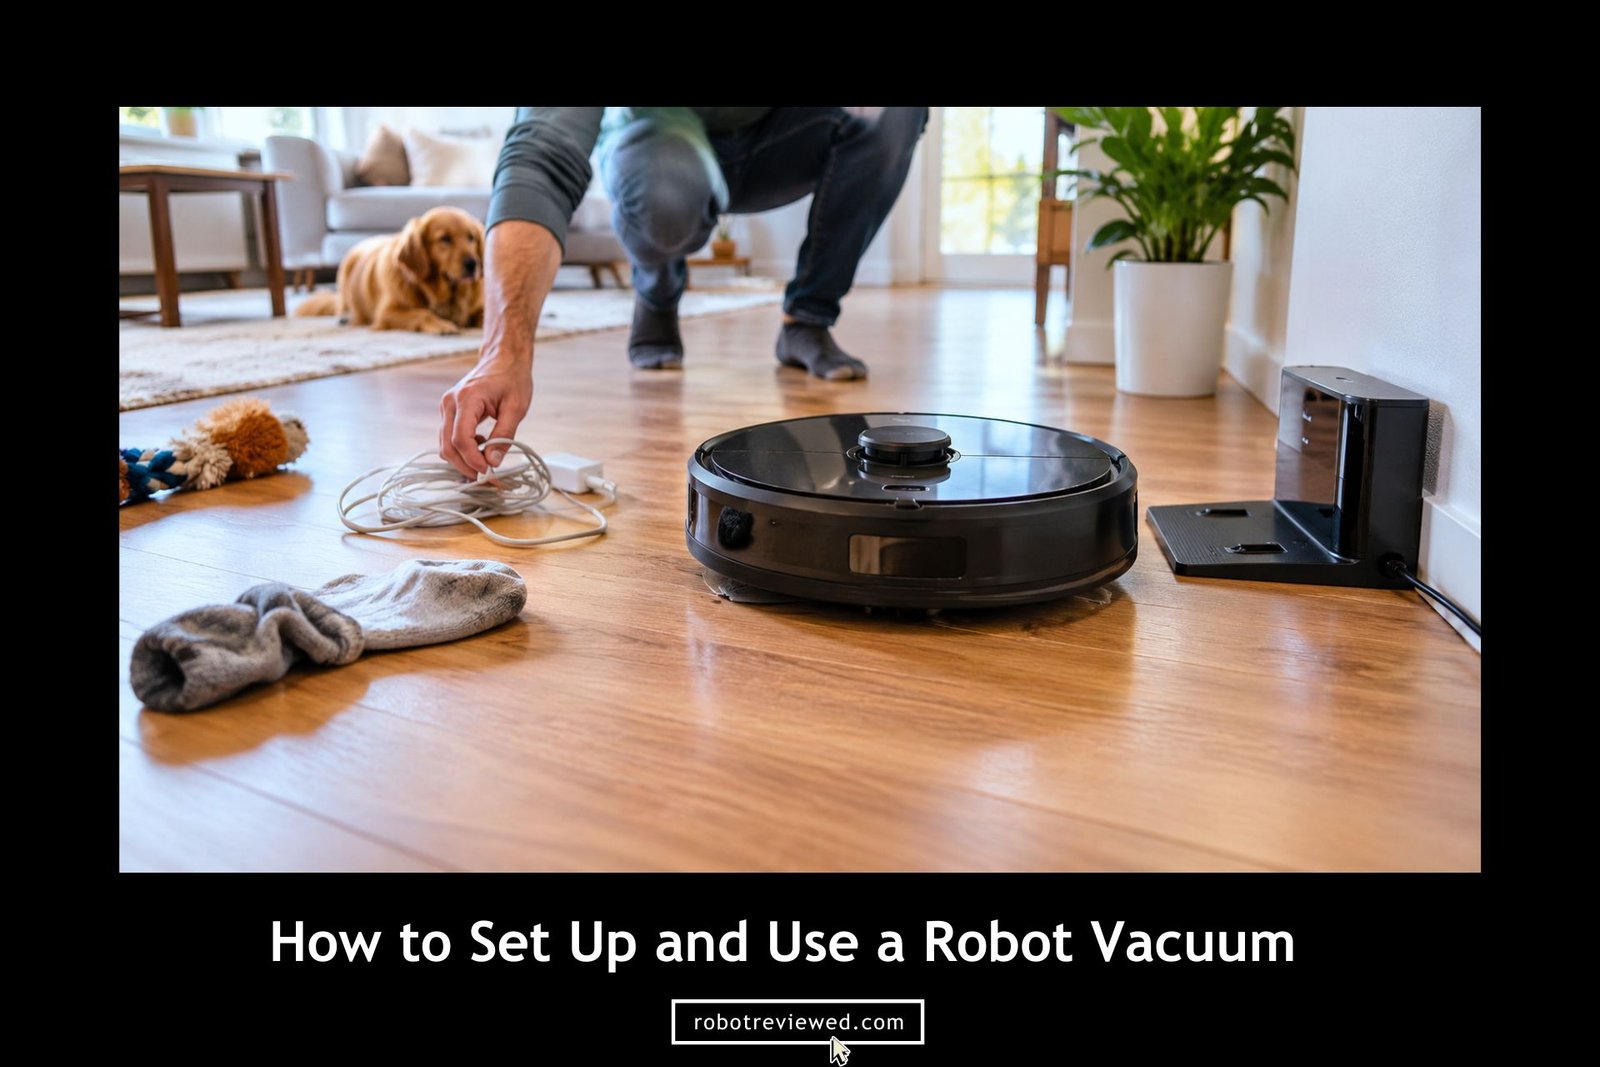
- Something is trapped underneath the robot, such as a sock, a loose cord, or a clump of hair.
- Hair or debris is wrapped around the wheels, which can stop the robot from rolling all the way in.
- The dock slides backward on smooth flooring every time the robot rolls up to it.
- A thick rug edge or an uneven floor lifts one side of the dock off the ground.
5. Fix the Charging Dock Placement
This fix is only about automatic docking, so it doesn’t deal with electrical contact at all. If your robot reaches the dock, sits on it correctly, and still won’t charge, skip ahead to fix 6 and save yourself the time.
Your robot finds its way home using sensors, signals, or its saved map, and clutter near the dock can confuse all of those. Roborock’s support material, for example, lists nearby obstacles and long distances from the dock as reasons that docking fails.
Walk through your setup and adjust each of the following things where you can.
- Leave open space on both sides and in front of the dock, and check your manual for the exact distances.
- Set the dock on a stable, level surface, ideally with its back against a wall.
- Move cords, shoes, pet bowls, and furniture out of the path the robot takes toward the dock.
- Don’t tuck the dock behind a chair, inside a tight corner, or under low furniture.
- Place it where the robot can reach it without a long trip through clutter.
- Avoid strong direct sunlight on the dock, since it can interfere with the signals on some models.
6. Let the Robot Battery Cool Down or Warm Up
Temperature protection is a real charging condition, and a lot of articles bury it. Robot vacuum cleaners’ batteries can stop charging, or charge very slowly, when they are too hot or too cold. That is a safety limit, not a random glitch.
Typical situations:
- The robot just finished a long cleaning run, and the pack is still hot.
- The dock sits beside a heater, a dryer, or a sunny window.
- The vacuum was stored in a cold garage, a porch, or a car trunk.
- The room itself is unusually hot or cold.
Bring the robot back to normal room temperature and try again. Give it time. A hot pack after a long job can need 30 to 60 minutes. A cold robot that sat overnight in an unheated room can need longer than that. Also, do not force a freeze-cold lithium pack onto a charger and hope, as charging a very cold battery is one of the faster ways to damage it.
7. Restart the Robot and Power-Cycle the Dock
Keep this simple…
- Take the robot off the dock.
- Turn it off or restart it the way the manual says for your model.
- Unplug the dock.
- Wait a short stretch. Roborock often says about 2 minutes. iRobot’s contact-cleaning steps take about 60 seconds.
- Plug the dock back in and confirm its power light.
- Place the robot back on the charger.
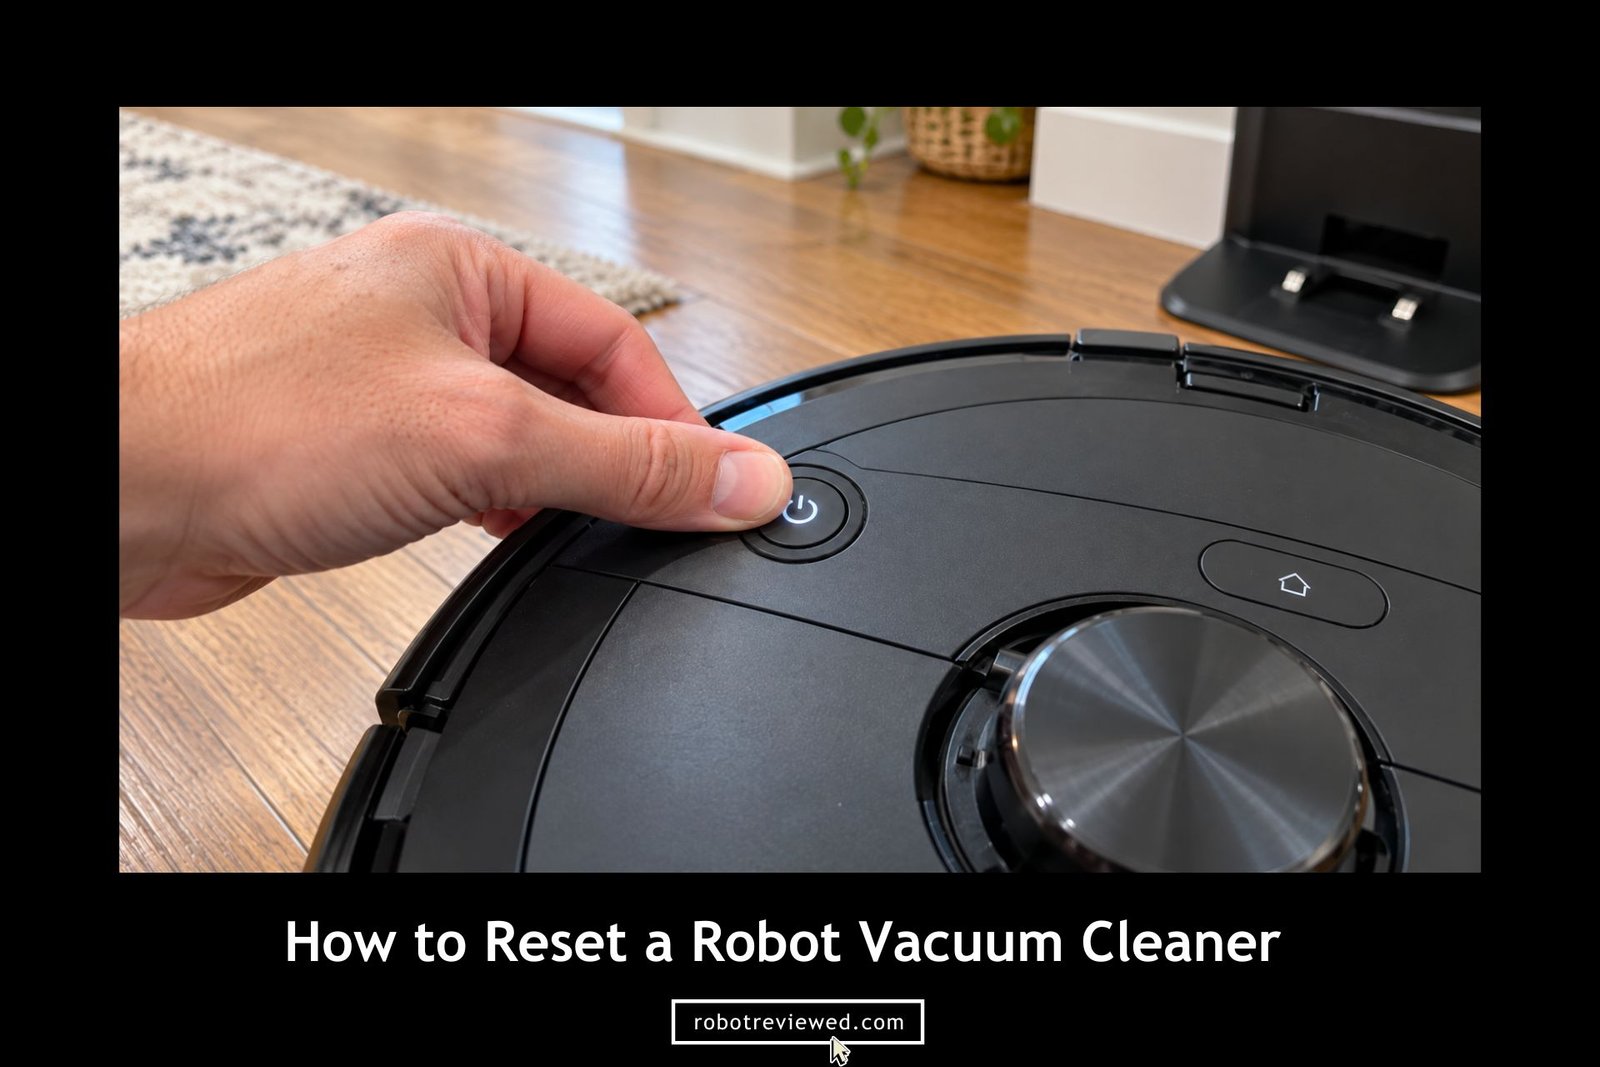
You can check out my guide on how to reset a robot vacuum cleaner.
8. Check the App or Robot for a Charging Error
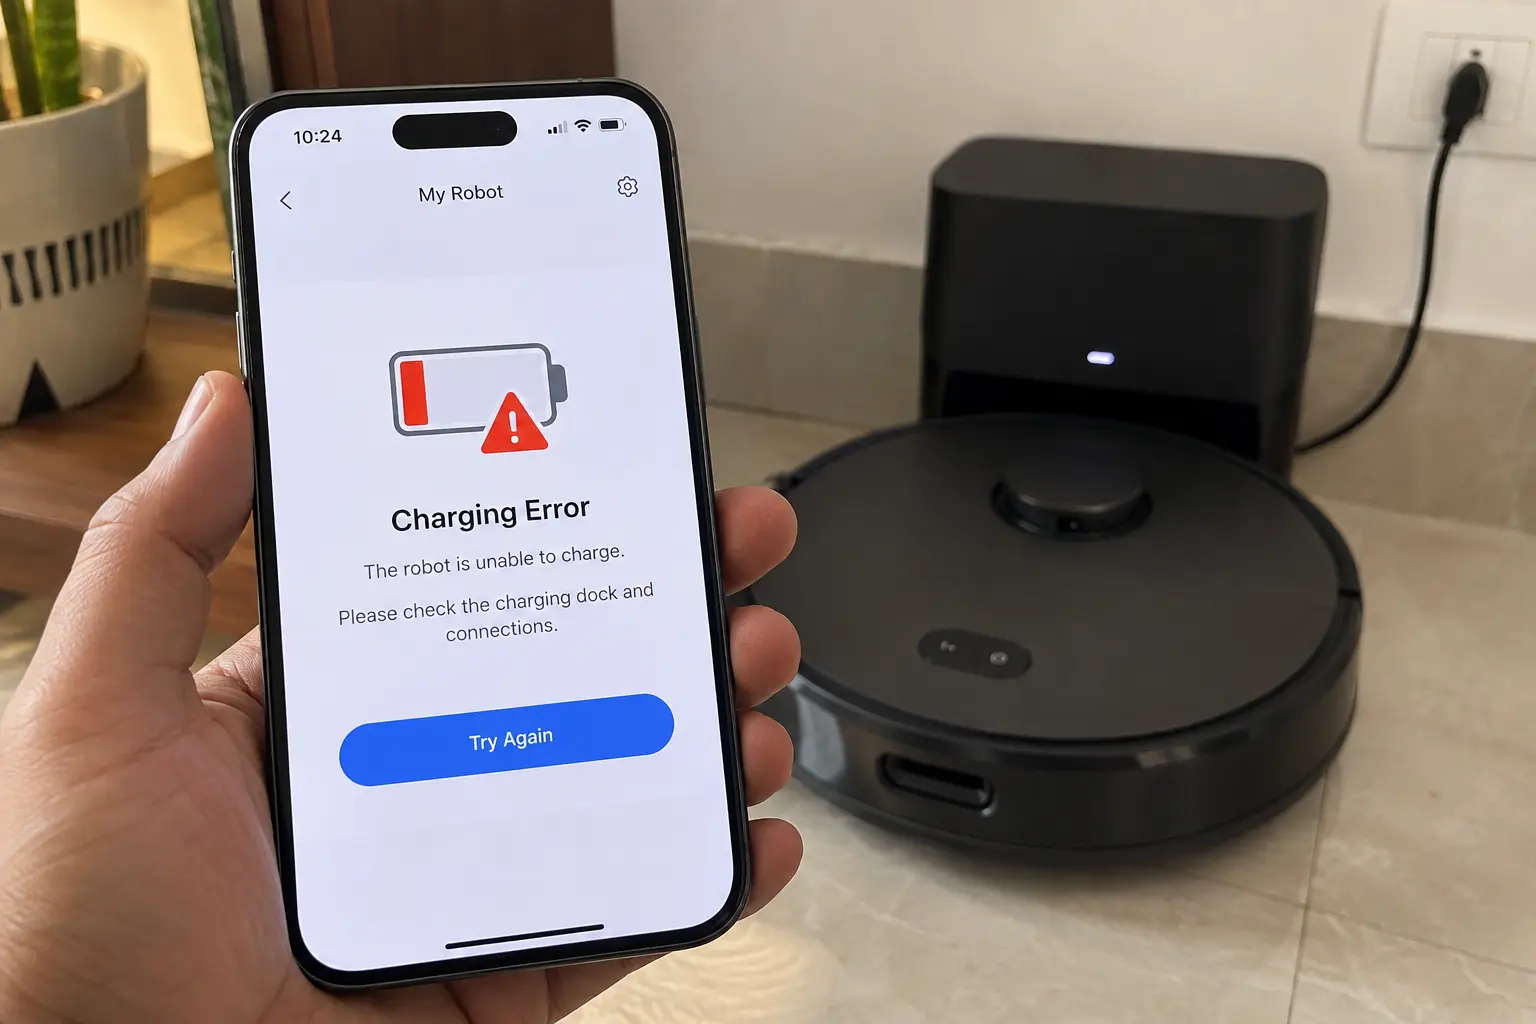
Many robots tell you exactly what’s wrong, as long as you know where to look. Open the app, then check the robot’s lights and listen for voice prompts. You might find an error code, a flashing light pattern, or a spoken message.
You don’t need to learn every code for every brand. It’s enough to know which type of problem the error usually points to.
- Low or no charging current: this usually means dirty contacts, a poor fit on the dock, or a weak power supply.
- Battery too hot or too cold: this calls for patience and a room-temperature spot, as you read in fix 6.
- Battery not detected: this can mean a loose battery, a bad connection inside, or a failed battery.
- Battery communication problem: this points to the battery itself or to the robot’s main board.
- Charging timeout: the robot tried to charge for too long without reaching full, which often means a worn battery or weak current.
- Battery hardware failure: this usually means the battery needs replacing.
9. Check or Reseat the Battery – Only If Your Model Allows It
This comes late on purpose. Many current robots use sealed packs. If your model does not have a user-accessible battery door, skip this section. Do not pry open a sealed pack. Do not start internal electrical repairs.
Now, if the battery is meant to come out:
- Turn the robot off.
- Follow the manufacturer’s steps, not a random video for a different model.
- Remove the battery and look for swelling, leaking, burnt smell, or broken connectors.
- Seat it firmly until it locks the way the manual shows.
- Use the battery type the brand specifies. iRobot warns that unknown aftermarket packs can trigger charging errors.
10. Decide Whether the Battery Has Actually Failed
By now you’ve ruled out the outlet, the dock, the contacts, the fit, the temperature, and the basic errors. Now the question most readers actually care about comes up: do you need a new battery?
These signs usually point toward a worn-out or failing robot vacuum battery:
- The dock works, and the contacts are clean, yet the robot still doesn’t charge normally.
- The battery percentage jumps around, drops quickly, or refuses to climb.
- Runtime has fallen sharply compared with how long the robot ran when it was new.
- The robot shuts off soon after it leaves the dock.
- Battery or charging errors keep coming back after you’ve tried every fix above.
- A known-good dock and a clean connection still don’t bring back normal charging.
There’s a difference between a robot vacuum that won’t charge and one that charges fully but dies quickly. They aren’t always the same problem: the first often points to power, contacts, or a deeply drained battery, while the second usually points to an aging battery.
Also, battery life depends on how often you run the robot, but most batteries slowly wear down over a few years of regular use. A robot that’s several years old and keeps losing runtime is a classic candidate for a new battery. So, if you do buy a replacement battery, choose one made for your exact model, ideally from the manufacturer or a seller you trust. Very cheap no-name batteries can hold less charge and may be less safe.
How to Tell Whether the Battery, Dock, or Robot Is Faulty
Okay, after working through the ten fixes, you may still wonder which part is actually broken. This table pairs common test results with the most likely cause, so you can decide what to repair or replace.
| Test and result | What it suggests | What to do next |
|---|---|---|
| Same dock and robot charge at another working outlet | Original outlet or switched supply is more suspect | Use the working outlet; get a faulty outlet checked |
| Your robot charges on a working dock approved for that model | Original dock, cable, or adapter is more suspect | Ask support to test the original charging setup |
| A working robot approved for your dock also fails there | Dock or its power supply is more suspect | Arrange a dock or power-supply test |
| Your robot fails on a working dock approved for that model | Robot contacts, battery, or internal charging parts remain suspect | Request a robot and battery check |
| Approved new battery restores normal charging and runtime | Original battery is very likely at fault | Recycle the old pack through an approved route |
| Cleaning or correct seating restores steady charging | Contact connection caused the break in charging | Maintain contacts and watch the next charge |
When You Should Stop Troubleshooting and Get It Repaired
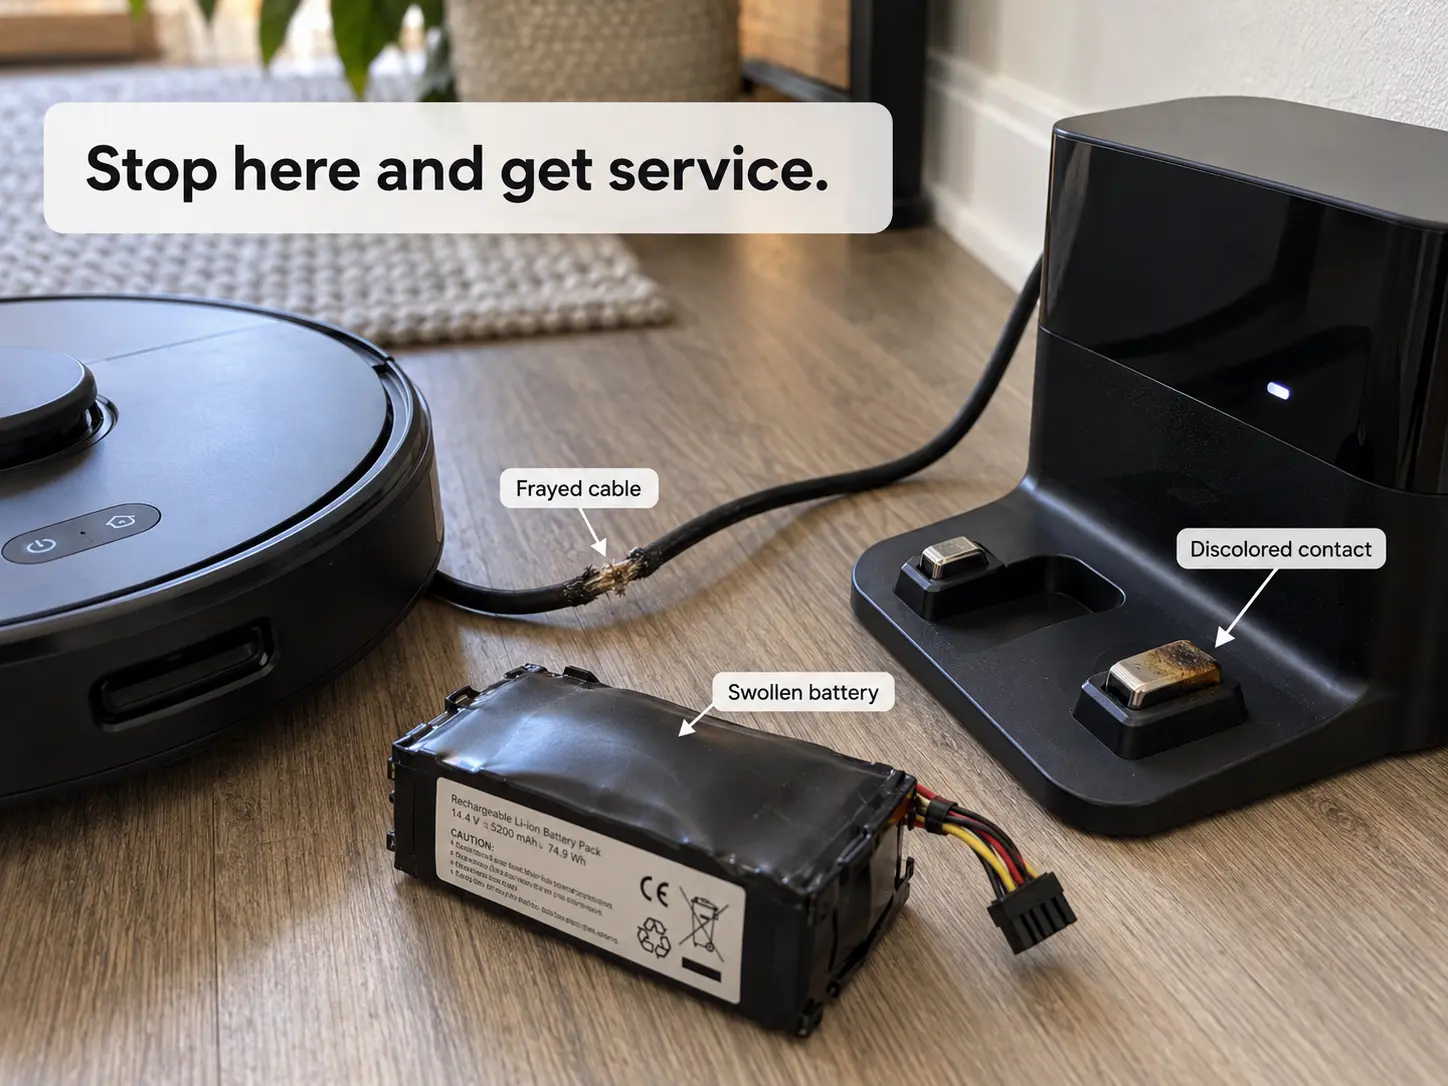
You should stop and get the unit serviced, or stop using it, if:
- The battery is swollen, bulging, or the cover no longer sits flat.
- The robot or dock becomes unusually hot while idle.
- You smell burning plastic or an electrical odor.
- Charging contacts look burned, melted, or blackened.
- The power cable is cut, crushed, or the insulation is split.
- Liquid got into the dock or the robot.
- The dock receives wall power but is electrically dead.
- Known charging errors remain after the manufacturer’s approved steps.
- The robot still cannot charge on a known-good dock with clean, undamaged contacts.
How to Prevent Robot Vacuum Charging Problems
A few small habits keep most charging trouble away, and none of them take much time.
- Wipe the charging contacts on the robot and the dock with a clean cloth every month or two.
- Keep the area around the dock clear so the robot can approach and seat itself properly.
- Keep the dock away from heaters, direct sunlight, and very cold spots like an unheated garage.
- Pull hair and debris from the wheels and from around the contact area during your regular cleaning.
- Leave the dock plugged in, as most manufacturers advise, so the robot can top up after every run.
- Treat on-and-off charging as an early warning, and fix it before it turns into no charging at all.